Planning & Markers
A centralised system for managing Rogue Point’s UI markers across the Planning Screen, Compass, and World, designed to keep behaviour consistent while simplifying iteration.
- Role: Programmer
- Discipline: Code (Systems)
- Engine: Unreal
Rogue Point uses a wide range of UI markers to help players navigate the world and track resources and objectives. These markers appear in three spaces: the Planning Screen, the Compass, and the World.
Originally, each of these systems was implemented separately. As development progressed, this became difficult to maintain and extend. Adding new features or adjusting behaviour required changes across multiple systems, and iteration slowed.
Marker Component
To address this, I refactored the system into a single centralised actor component: the Marker Component. All marker types now bind to this component and respond to its state in their own way. This provides a single, consistent API for both designers and programmers, while keeping implementation details appropriately abstracted away.
Designers can create a fully functional marker simply by adding a Marker Component to an actor and configuring its properties. The system handles how that marker is displayed across all three spaces automatically. For example, designers can simply call this function to update a Marker’s look:
DECLARE_DYNAMIC_MULTICAST_DELEGATE_OneParam(FOnMarkerAppearanceChangedSignature, const FMarkerAppearance&, InAppearance);

void UTangoMarkerComponent::SetMarkerAppearance(const FMarkerAppearance& InMarkerAppearance)
{
  Appearance = InMarkerAppearance;
  OnRep_Appearance();
}

void UTangoMarkerComponent::OnRep_Appearance()
{
  OnAppearanceChanged.Broadcast(Appearance);
}
Here is an example of how a Marker Widget would respond to this change:
void UTangoMarkerWidget::MarkerWidgetSetup()
{
  // Bind to the marker component's appearance, and then manually update once for the first time
  MarkerComponent->OnAppearanceChanged.AddUniqueDynamic(this, &ThisClass::MarkerAppearanceChanged);
  MarkerAppearanceChanged(MarkerComponent->Appearance);
}

void UTangoMarkerWidget::MarkerAppearanceChanged(const FMarkerAppearance& InAppearance)
{
  Appearance = InAppearance;

  // Update our icon and tint if we are able to
  if(IsValid(Icon) && !Appearance.IconTexture.IsNull())
  {
    Icon->SetBrushFromLazyTexture(Appearance.IconTexture);
    Icon->SetBrushTintColor(Appearance.ColorTint);
  }

  // Dispatch BP event so BPs can do additional updates if needed
  BP_MarkerAppearanceChanged(Appearance);
}
This approach ensures that marker behaviour remains consistent across the Planning Screen, Compass, and World, while making it much easier to extend or modify.
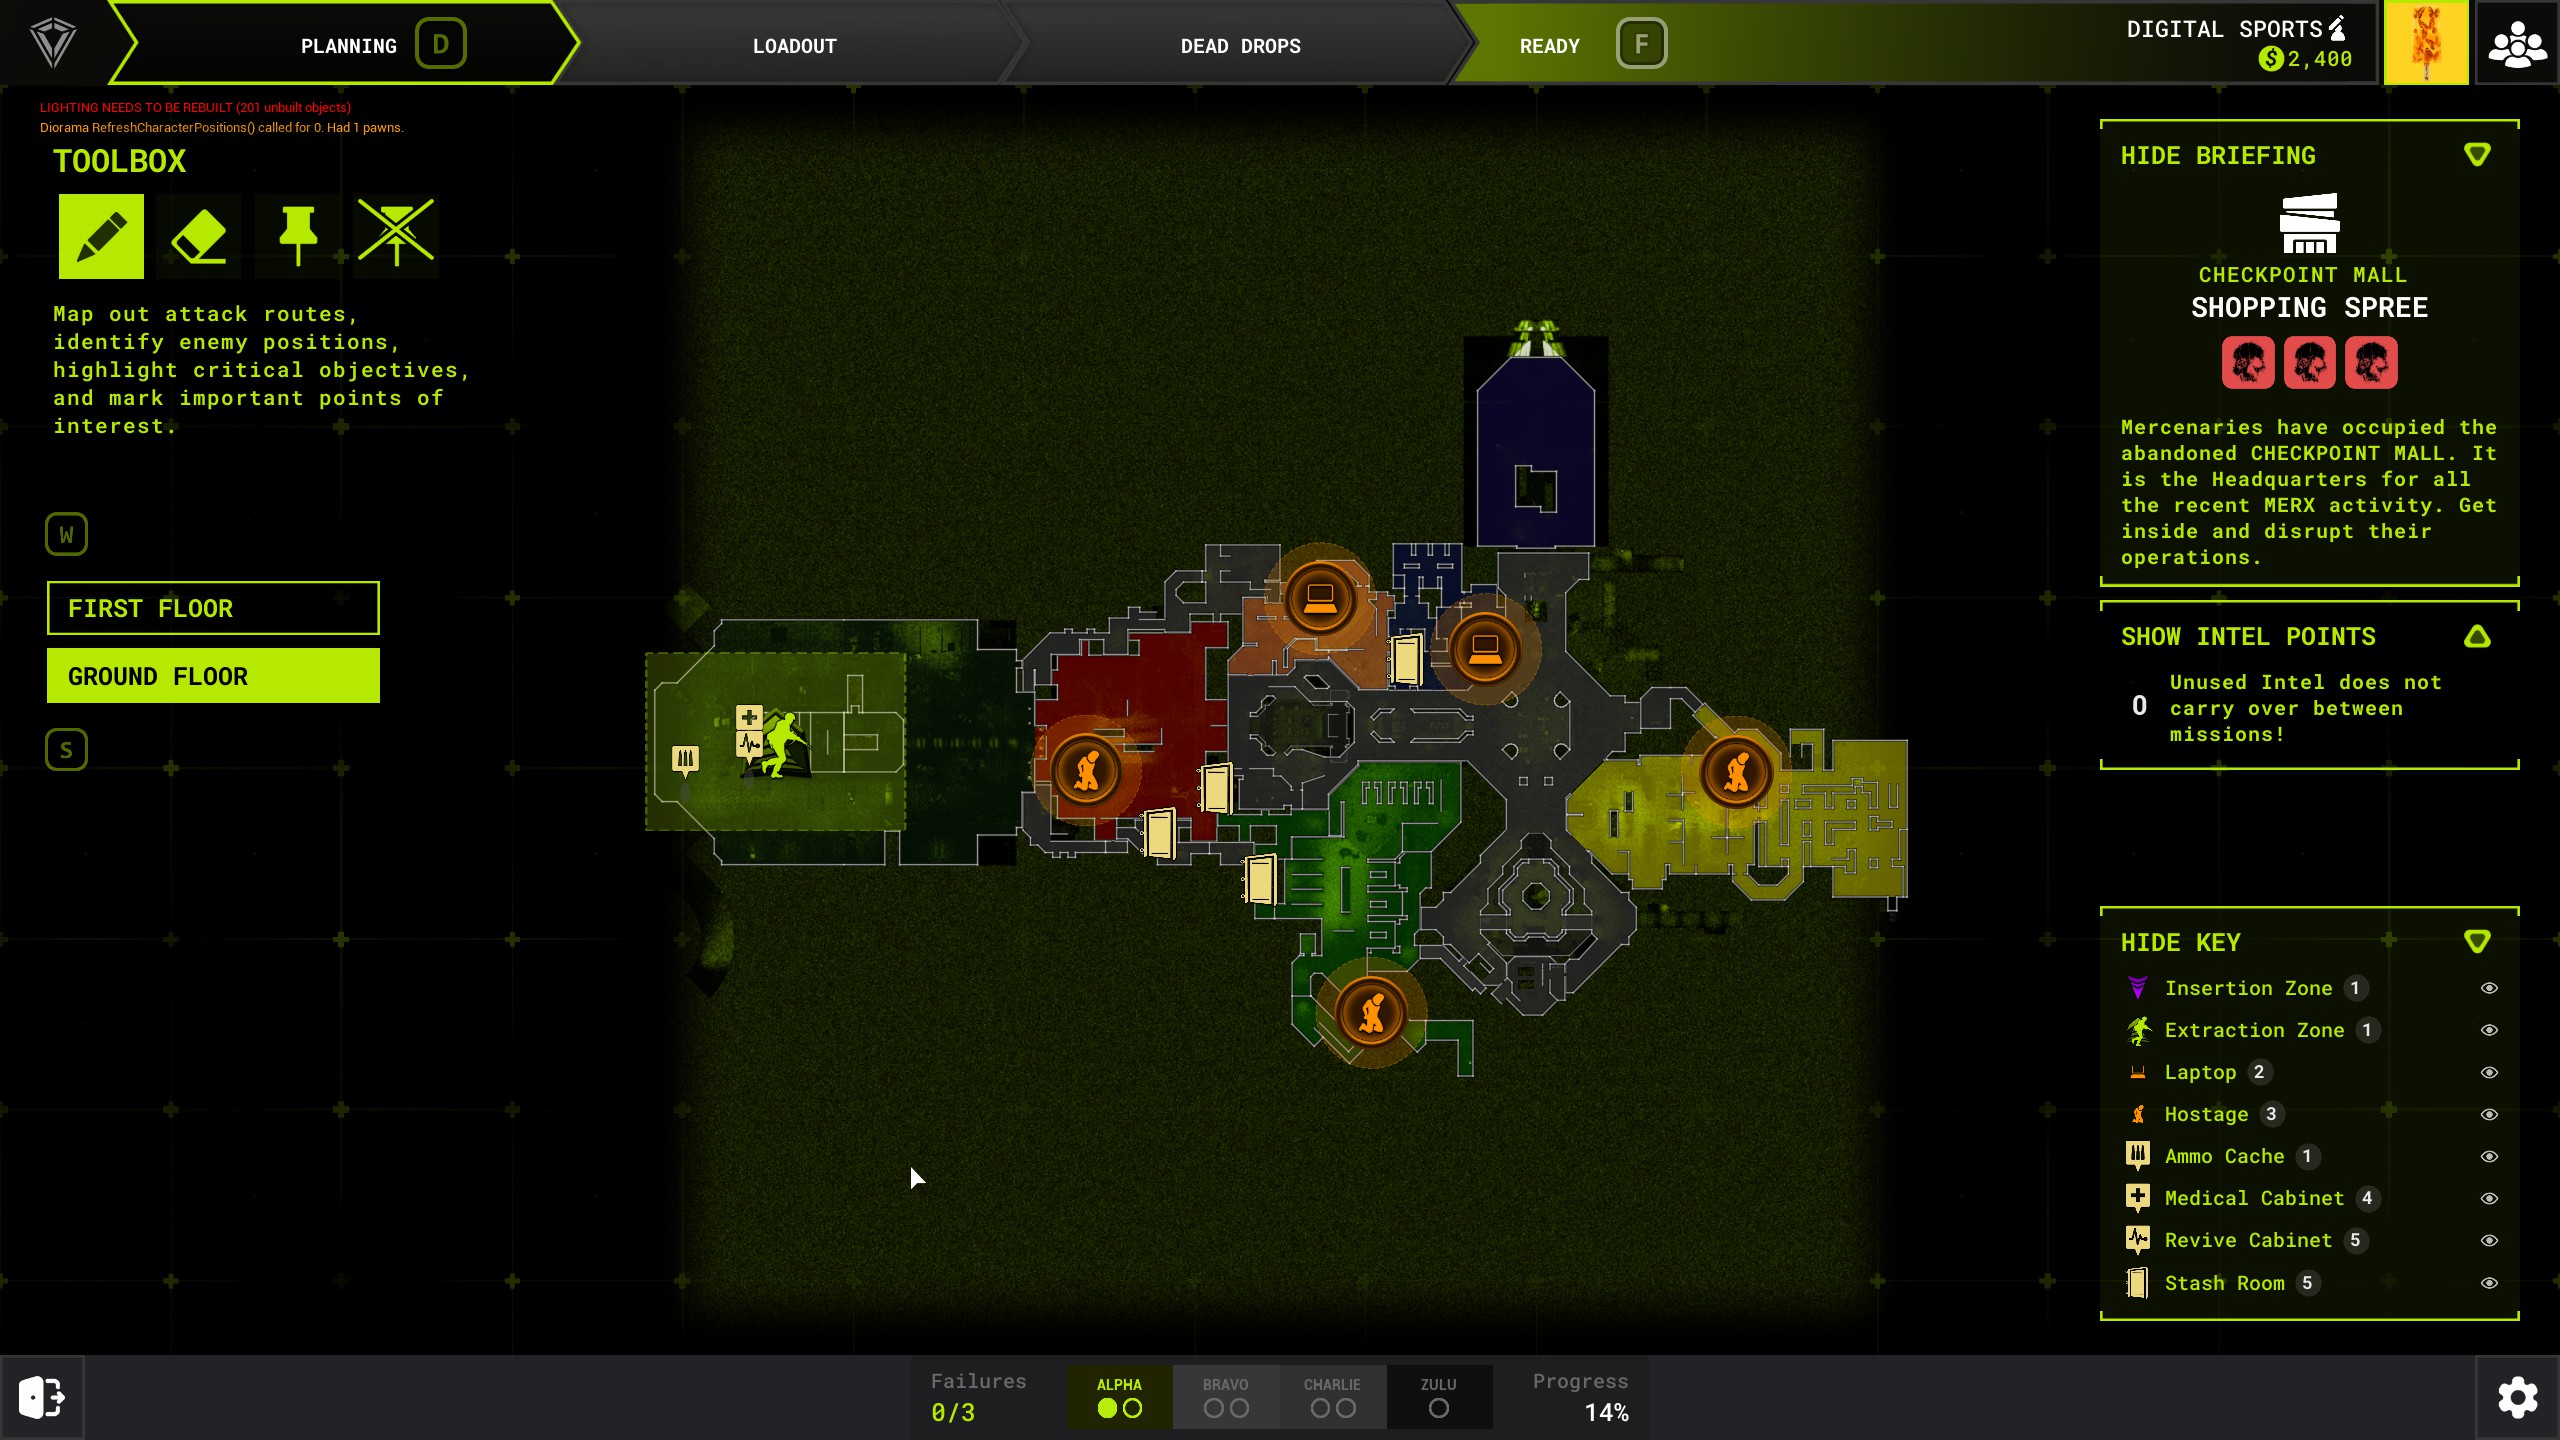
Planning Screen
I also built Rogue Point’s Planning Screen, in conjunction with this marker system. While doing so, I devised a static method of reliably calculating marker positions for the Planning Screen.
Previously, each client calculated marker positions locally when the Planning Screen was initialised. This led to unreliability as well as inconsistencies between clients and unnecessary runtime work. My baked system allowed each Marker Component to store a set of precomputed “Planning Locations,” representing its screen-space position for each Planning Camera. These are calculated once in-editor and saved as part of the level data.
At runtime, clients simply read this data, avoiding recalculation and ensuring consistency across all players. This data is stored as a (0,1) position against the camera’s orthographic view, so it will work for any player regardless of their screen resolution:
void ATangoPlanningPhaseManager::CalculateMarkerWidgetLocations(UTangoMarkerComponent* InComp,
const TArray<ATangoPlanningCamera*>& InCameras) const
{
  InComp->ClearPlanningLocations();
  if(InCameras.Num() < 1)
  {
    return;
  }
  for(ATangoPlanningCamera* Camera : InCameras)
  {
    InComp->CalculatePlanningLocationForCamera(Camera);
  }
}

void UTangoMarkerComponent::CalculatePlanningLocationForCamera(ATangoPlanningCamera* InCamera)
{
  if(!IsValid(InCamera))
  {
    return;
  }
  /* Get our World Location from whatever our attached actor tells us via delegate, if needed.
   * Otherwise, just use the Marker Component's location */
  const FVector Location = OnRequestPlanningLocation.IsBound() ? OnRequestPlanningLocation.Execute() : GetComponentLocation();
  TOptional<FVector2D> WidgetLocation = CalculatePlanningLocation(Location, InCamera);
  if(WidgetLocation.IsSet())
  {
    PlanningLocations.Add(InCamera, WidgetLocation.GetValue());
    OnPlanningLocationAdded.ExecuteIfBound(InCamera, WidgetLocation.GetValue());
  }
}

TOptional<FVector2D> UTangoMarkerComponent::CalculatePlanningLocation(const FVector& InLocation, const ATangoPlanningCamera* InCamera)
{
  TOptional<FVector2D> Output;
  /* There are 2 tricks here - first we must swap X and Y because in widget space, X = left/right, Y = up/down, but in 3D/world
   * space relative to a Planning Camera top-down view, X is up/down and Y is left/right. Secondly, we also need to invert the
   * Y output result. This is because in 3D space relative to the Planning Camera position, moving down = decreasing X, but in
   * widget space that is represented by increasing X. */
  const float ResultX = FMath::GetMappedRangeValueUnclamped(InCamera->YRange, PlanningSpace, InLocation.Y);
  const float ResultY = FMath::GetMappedRangeValueUnclamped(InCamera->XRange, PlanningSpaceInverted, InLocation.X);
  if(PlanningRange.Contains(ResultX) && PlanningRange.Contains(ResultY))
  {
    Output = FVector2D(ResultX, ResultY); // Check result is within 0 - 1 and then set Output
  }
  return Output;
}
This approach reduced network complexity and ensured that the Planning Screen could be populated reliably using minimal replicated data: requiring only the chosen Level Layout and any dynamically spawned actors.